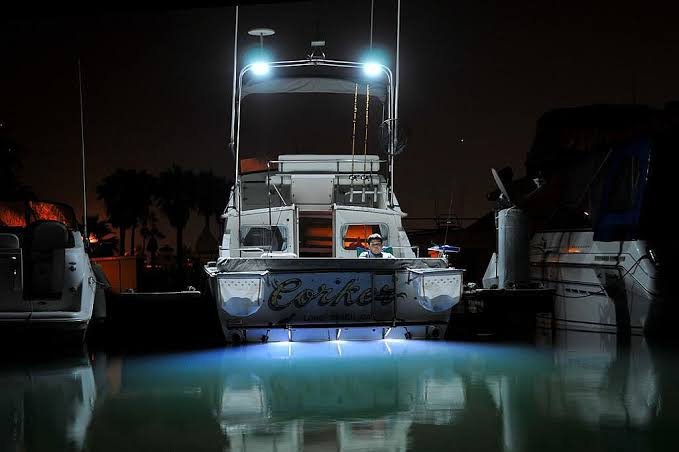
Night boating can be peaceful and rewarding, but it leaves less room for poor visibility, cluttered controls, or electrical problems. A practical lighting plan helps the operator read the water, move safely around the vessel, and remain recognizable to nearby traffic. Whether you are maintaining an older cruiser or sourcing Fleming yacht parts for a larger refit, every lighting change should begin with safety and purpose rather than appearance.
The goal is not to make every area as bright as possible. Excessive brightness can create reflections on glass, reduce the operator’s natural night vision, and make channel markers or approaching vessels harder to distinguish. Good marine lighting delivers the right amount of light where it is needed, while keeping unnecessary glare out of the helm and away from other boaters.
Why Marine Lighting Matters After Dark
Lighting serves multiple needs: operators require controlled light for instrument use and safe navigation, passengers need clear visibility in the cockpit and cabin, and other vessels must identify your boat’s position, direction, and status. A single floodlight is rarely effective. For example, bright cockpit lighting may seem safer docked but can cause reflections that obscure views of buoys, waves, or nearby boats. Low, shielded lighting around steps and walkways is more helpful than broad overhead lights.
The Three Main Lighting Zones On A Boat
Divide the system into separate zones so each area can be controlled for its actual purpose.
- Navigation lighting: Required lights that communicate the vessel’s position and movement to other boaters.
- Work lighting: Functional illumination for the helm, deck, engine compartment, galley, lockers, and repair areas.
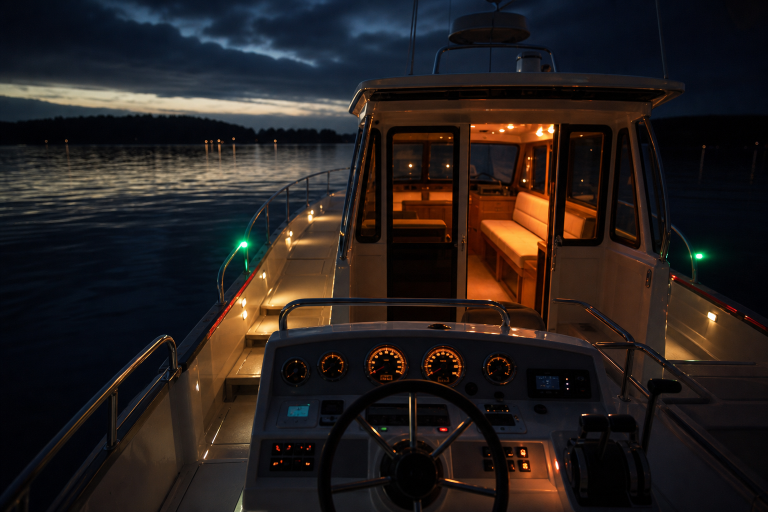
- Courtesy or accent lighting: Low-output lighting for steps, seating areas, cabin pathways, and other comfort-focused spaces.
Each zone should have an appropriate brightness level and a separate control whenever practical. This makes it possible to preserve night vision while still turning on a work light for docking, line handling, or an inspection.
Navigation Light Rules To Check First
Navigation lights are not decorative equipment. Their color, arc of visibility, placement, range, and configuration depend on the vessel’s length, type, and whether it is underway, anchored, sailing, or power-driven. Before replacing a fixture, review the U.S. Coast Guard marine safety alert on navigational lights, which warns that some replacement and decorative products may not meet the requirements for their intended application.
Know The Basic Light Types
- Sidelights: Red on port and green on starboard, visible from forward sectors.
- Sternlight: A white light visible from behind the vessel.
- Masthead light: A white forward-facing light used in required configurations for power-driven vessels.
- All-round light: A white light visible through 360 degrees when permitted for the vessel and situation.
Do not assume rope lights, underwater lights, colored LEDs, or a generic all-round fixture can substitute for approved navigation lights. Use the official U.S. Coast Guard Navigation Rules reference to confirm the technical details that apply to your boat and operating waters.
How To Choose Fixtures For Each Area
Choose fixtures based on location and task. Use dimmable, low-glare lights to avoid washing out displays or windshield reflections. On deck, select even lighting to show steps, cleats, and lines without hot spots. Engine fixtures should be heat-resistant, securely mounted, and easy to inspect. In cabins, softer ambient lights aid movement; task lights are better for reading, cooking, or repairs. Fixed lights are permanent; rechargeable lamps are useful backups and reach unlit compartments. Strip lights improve pathway visibility but need secure mounting, protected wiring, and placement away from navigation lights.
Wiring, Power, And Battery Planning
Every new fixture adds demand to the electrical system. Confirm the vessel’s voltage before purchasing equipment, and then list every light that could operate simultaneously. Add the wattage or current draw, account for the expected runtime, and consider the battery capacity available after essential equipment is supplied.
Long wire runs can cause voltage drop, especially when conductors are undersized. Use appropriately sized marine-rated wire, correctly sized circuit protection, reliable switches, and protected connectors. Keep lighting circuits organized and labeled. Where possible, avoid combining all lighting on one switch or placing convenience lighting on a circuit shared with critical navigation or communication equipment. A qualified marine electrician should inspect unfamiliar, damaged, or heavily modified wiring.
How To Reduce Saltwater Corrosion
Saltwater, vibration, heat, and condensation can shorten the life of even a good fixture. Use sealed connectors in exposed areas, support cable runs, and keep joins above locations where water can collect. Inspect terminals for green residue, white powder, looseness, melted insulation, or dark heat marks.
Also check lenses, gaskets, mounting screws, brackets, and cable jackets. Replace cracked lenses and brittle insulation before water enters the fixture or conductor. After use in saltwater, rinse exposed exterior areas with fresh water when appropriate and allow them to dry before inspection.
Common Marine Lighting Mistakes
- Installing a light without confirming voltage compatibility.
- Using decorative lighting as a replacement for required navigation lights.
- Selecting high brightness without considering glare and reflections.
- Leaving splices exposed to spray, vibration, or standing water.
- Routing wires near sharp edges, moving parts, or heat sources.
- Adding multiple lights to an already weak charging and battery system.
- Using one switch for every onboard lighting zone.
- Failing to perform a real-world night test after installation.
A Simple Inspection Checklist
Before an evening departure, turn on every navigation light and walk around the boat to check its viewing angles. Look for flickering, dim output, delayed startup, moisture inside lenses, and blocked visibility. Inspect accessible fuses, switches, connectors, and wiring. Confirm that cabin and cockpit lights do not reflect into the helm area, then test backup flashlights or portable work lights. Record needed repairs before the next trip.
Marine Lighting Planning Tips For 2026
For a dependable 2026 lighting plan, favor efficient fixtures that reduce battery demand without compromising required visibility or safe installation. Create separate control zones, leave access for servicing fixtures, and retain a simple record of wire routes, fuse sizes, switch labels, and replacement parts. Efficiency is valuable, but it never replaces compliance, proper circuit protection, nighttime testing, and regular maintenance.
Final Takeaway
Safer marine lighting comes down to purpose, placement, power planning, and inspection. A well-designed system helps the operator see clearly, provides passengers with safer footing, and helps other vessels identify the boat without confusion. The best setup is not the brightest one. It is the one that provides the right light, in the right place, at the right time.
